Tact Switch Handwired Keyboard (Part 1)
Intro
The other day, I was browsing r/mechanicalkeyboards and saw this:
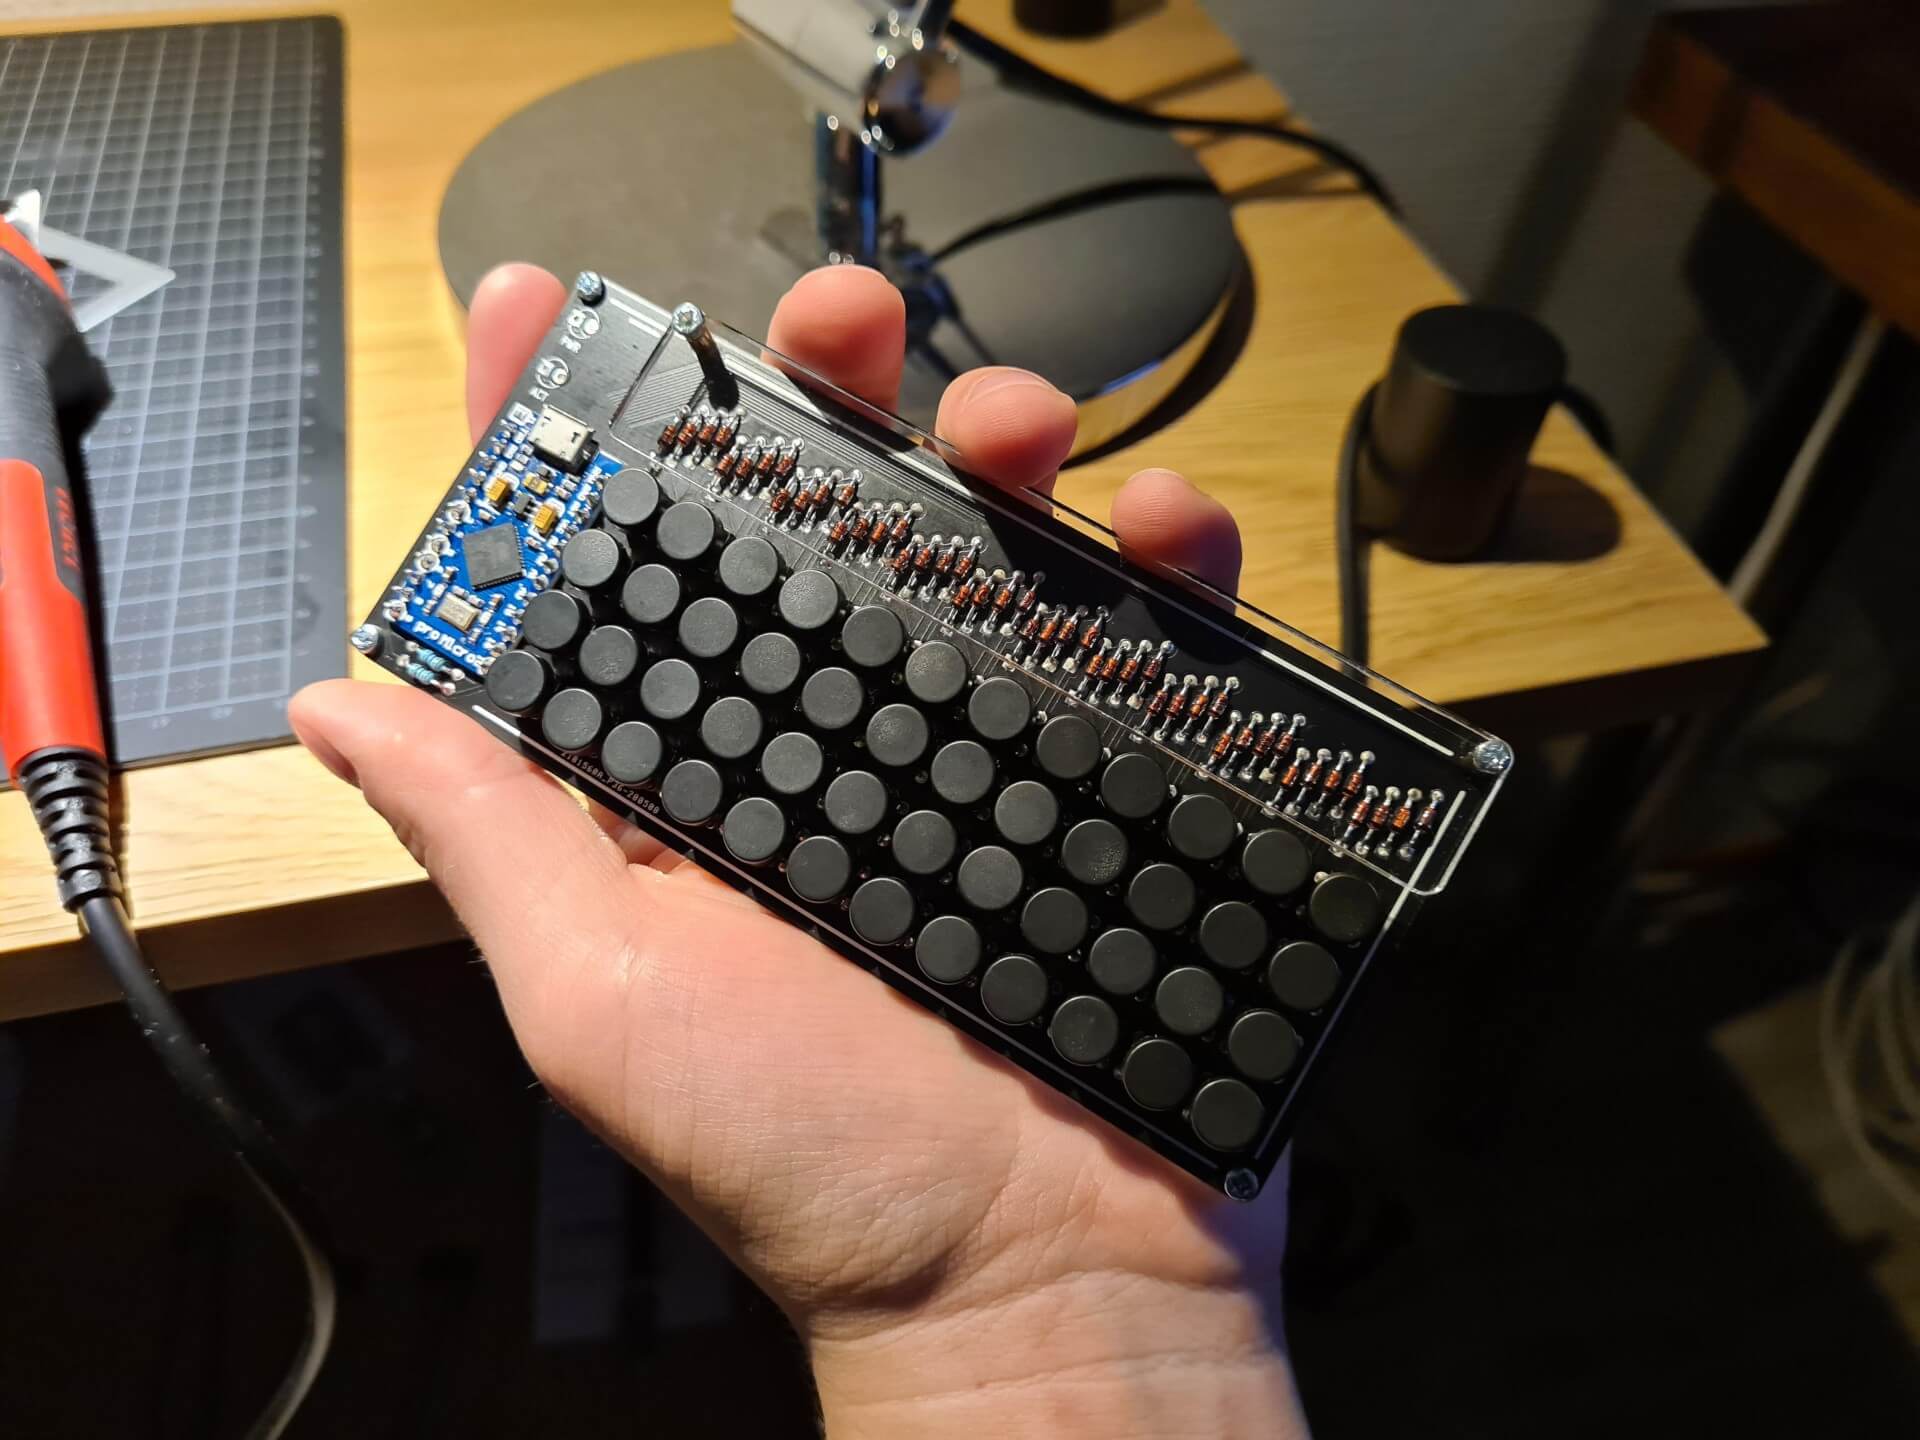
It was a tiny ortholinear keyboard kit using tactile switches as buttons, sold on mechkeys.co.uk. Being a custom keyboard fanatic (long story), I was immediately intrigued. My immediate instinct was to buy the kit, but I already have so many keyboards in my collection, and I don’t want to waste my hard-earned cash feeding this hobby that I cultivated into an unholy amalgam of hoarding and obsession. Besides, I think I am out-growing building pre-made kits and am looking to venture into more DIY projects. Figuring that tact switches are pretty cheap and that I had the rest of the components stocked up already, I thought for a minute about how I could actually use a super tiny keyboard. Just a few days before, I got a shipping notification for an item I ordered long ago (purchased in a group buy): the nice!nano microcontroller board with Bluetooth built-in. Then it clicked: I could make a wireless keyboard for use with my nVidia Shield in a hybrid form-factor which facilitated typing, as well as using it as a remote. So it was decided. I would build my first hand-wired keyboard which I could use while watching TV, and type using thumbs by holding it with both hands.
Design
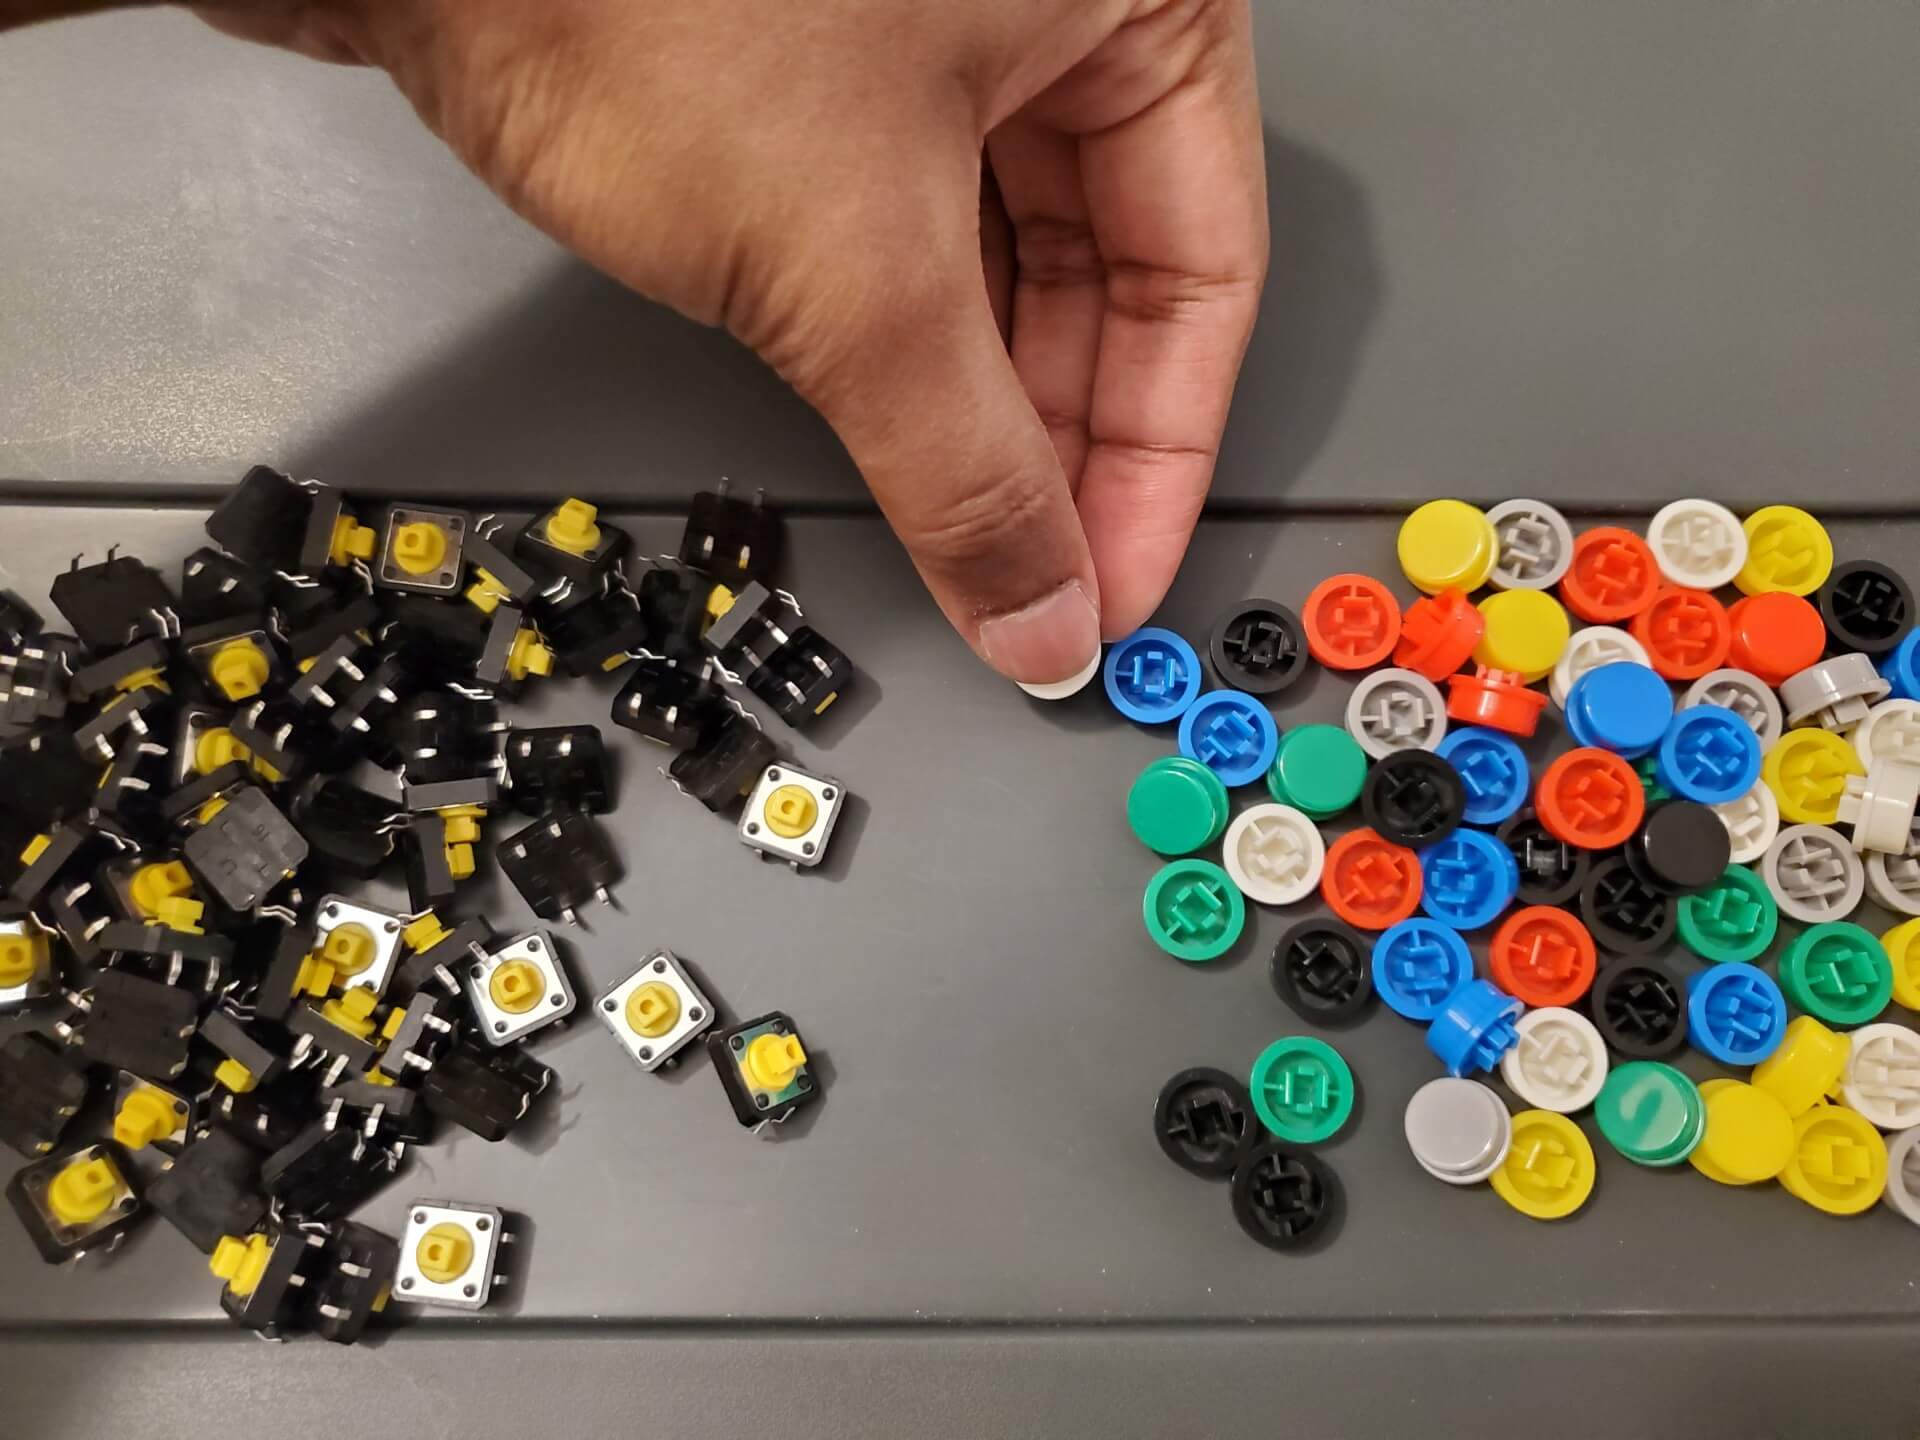
The PocketType uses small switches (I couldn’t find the exact model or dimensions for the switches online). But judging by the pictures, the height of a pro-micro is approximately 4-keys high. That would make the switches around 4x4mm. I tried to find similar switches on Amazon, but couldn’t find anything in those dimensions which also came with caps. I settled instead for 12x12mm switches which were super cheap and included nice colorful caps to boot: 70 piece momentary switch kit.
Next, I took a pen, paper and a ruler to draw some layouts to scale. This gave me a better idea of how well I can use those switch sizes. I concluded that these switches are a just tad too large for typing with thumbs, but I will make do. With the idea that I’d be holding this thing with both hands and using the thumbs to type, this is what I came up with:
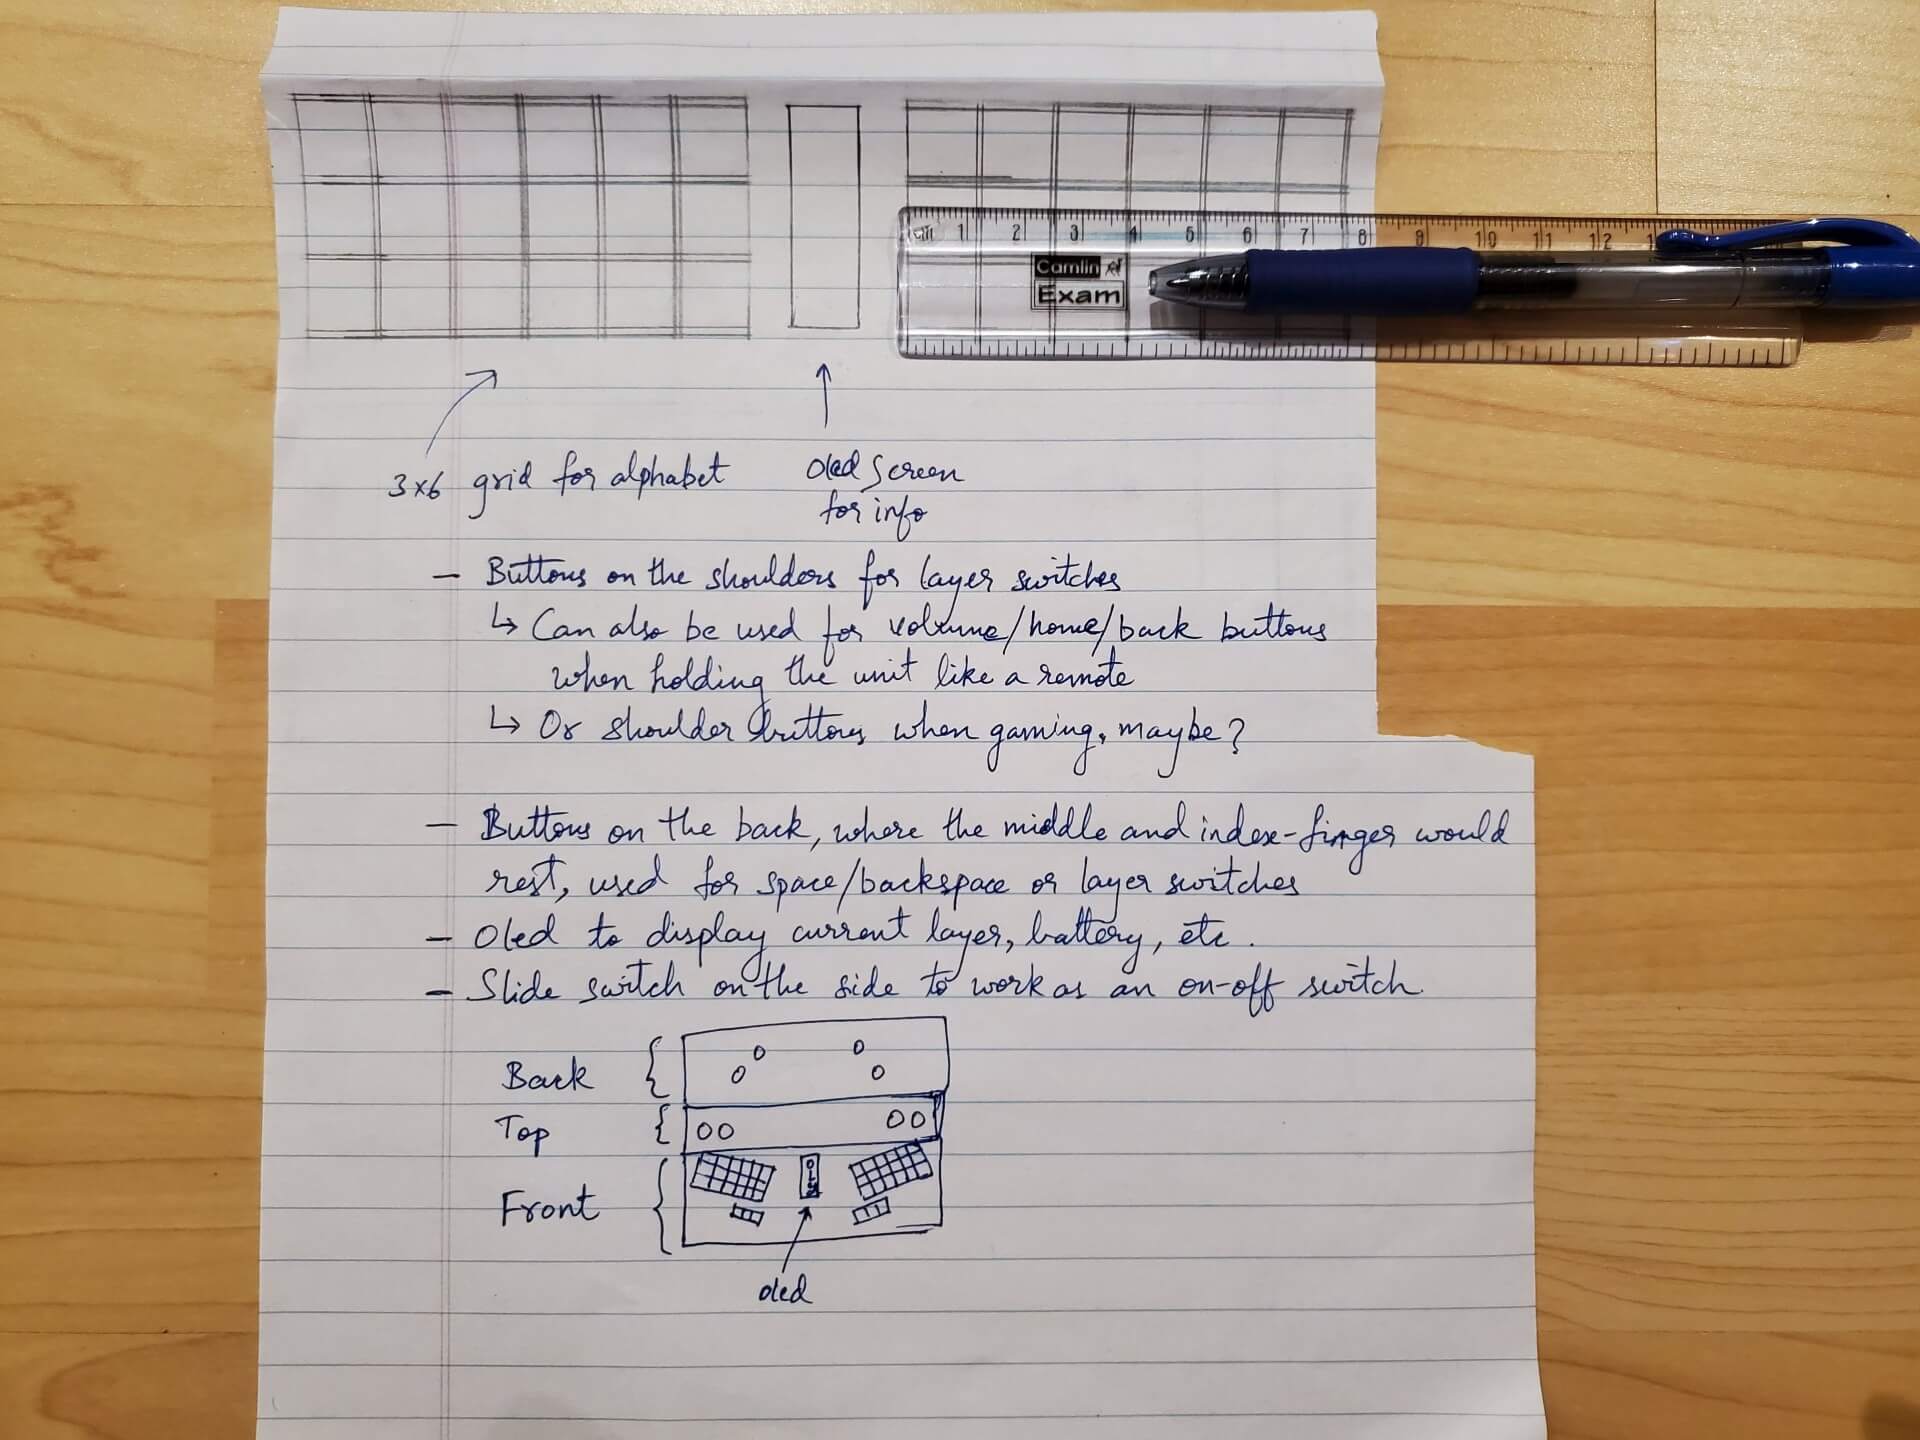
- 3x6 grid for each hand for alphabets and modifiers
- OLED screen in the middle to display information about battery, future features, etc.
- Buttons on the top side, reachable by the index fingers.
- Can be used for volume/home/back buttons when holding sideways as a remote
- Can be used as shoulder buttons for playing games, maybe?
- Buttons on the back where the middle and ring fingers rest (inspired by Scuf game controller).
- Can be used for modifiers, layer switching, etc.
- Don’t have to be tact switches, can also be low-profile keyboard switches. TBD.
- Slide switch on the top as a power toggle. Might also be a momentary switch. TBD.
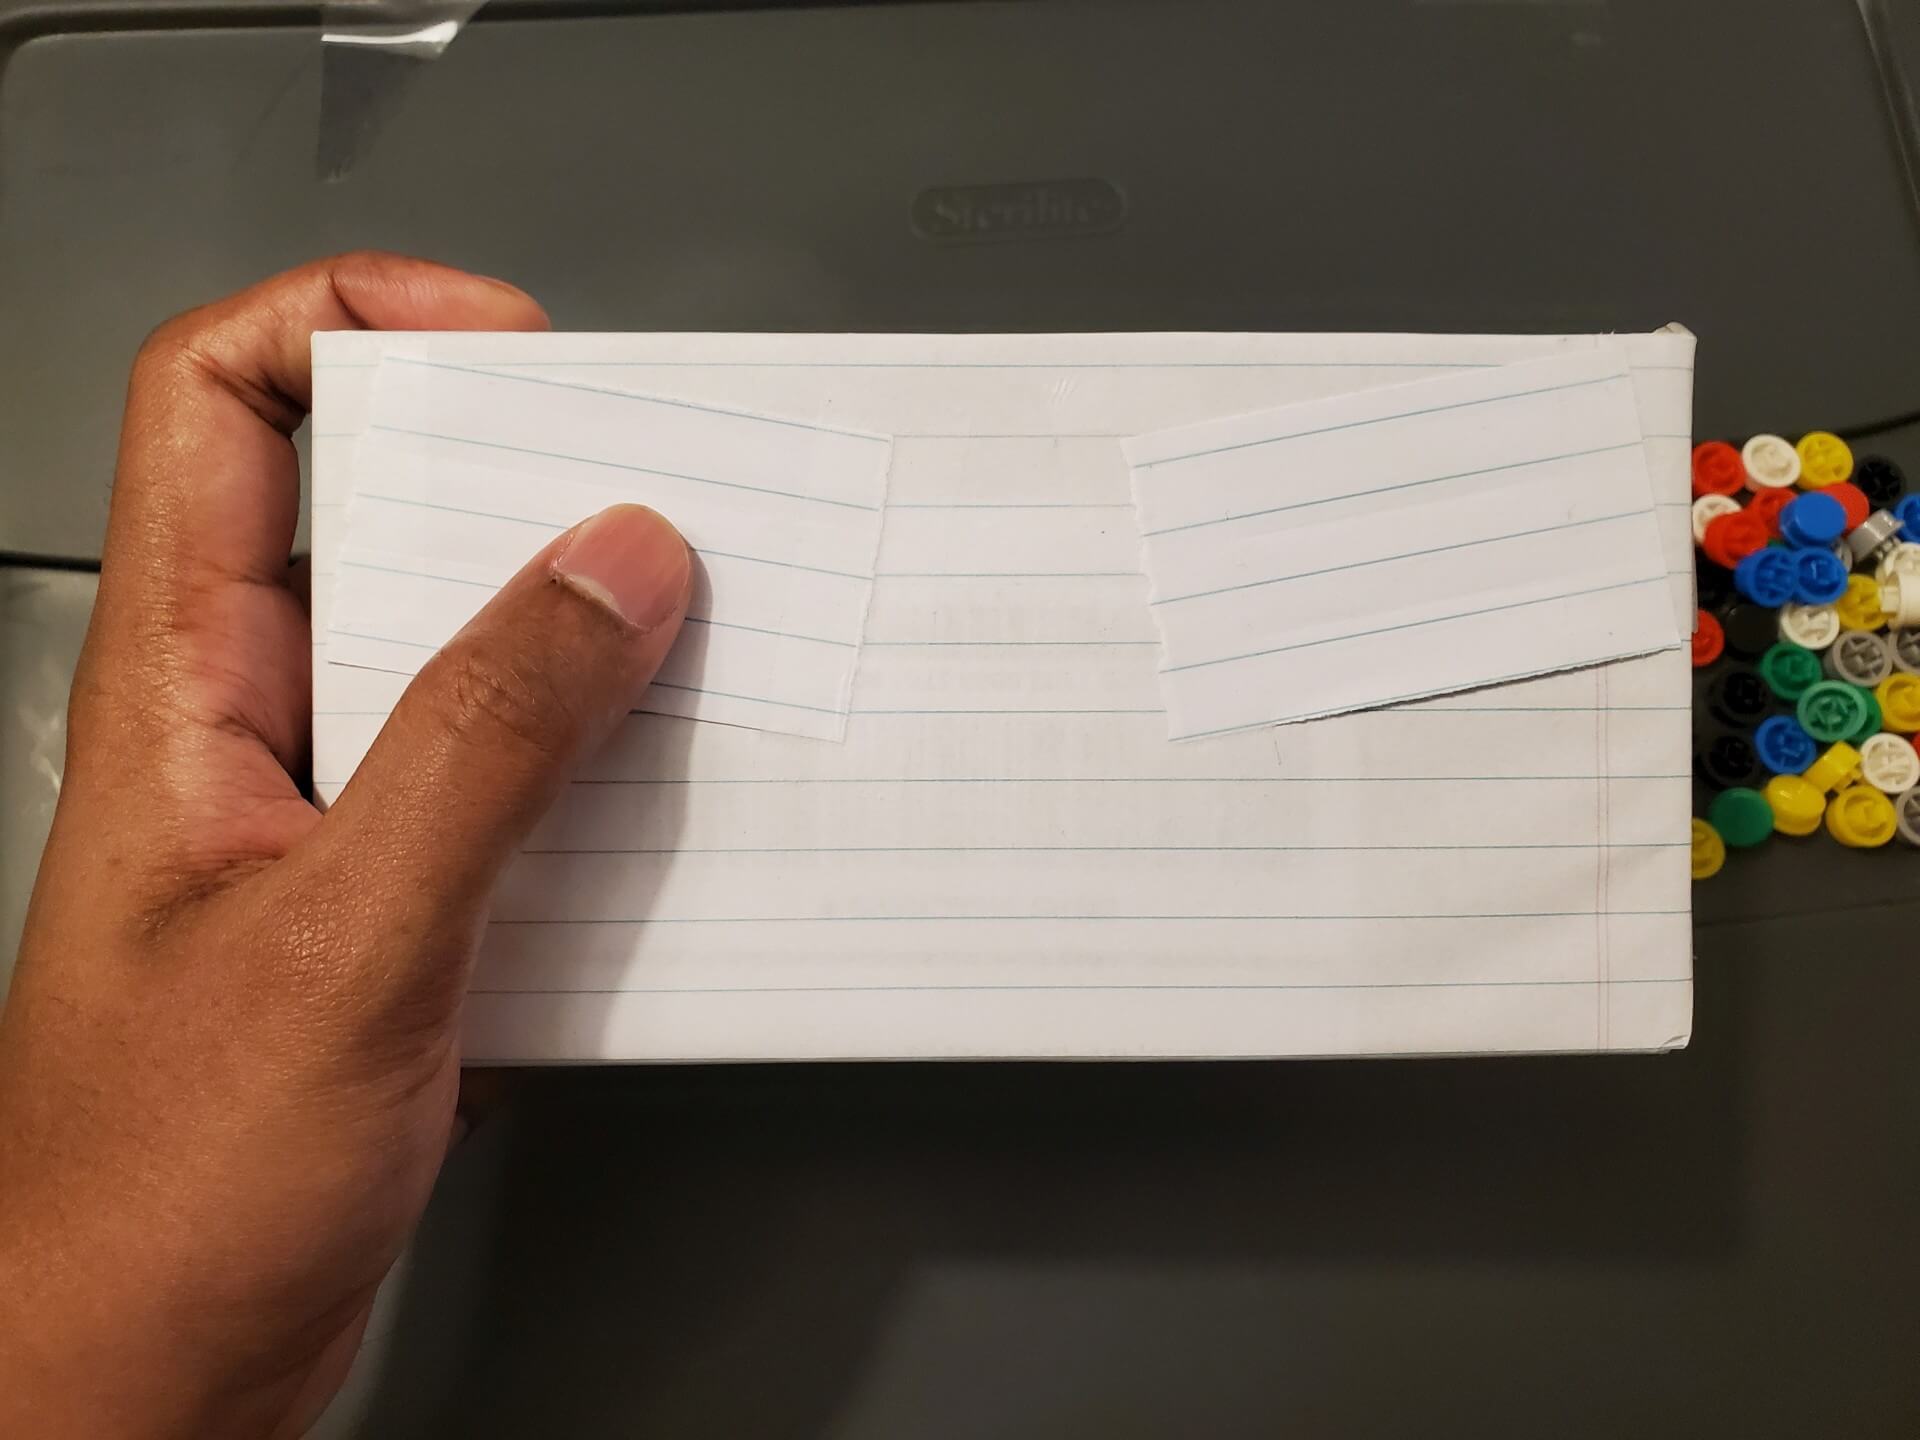
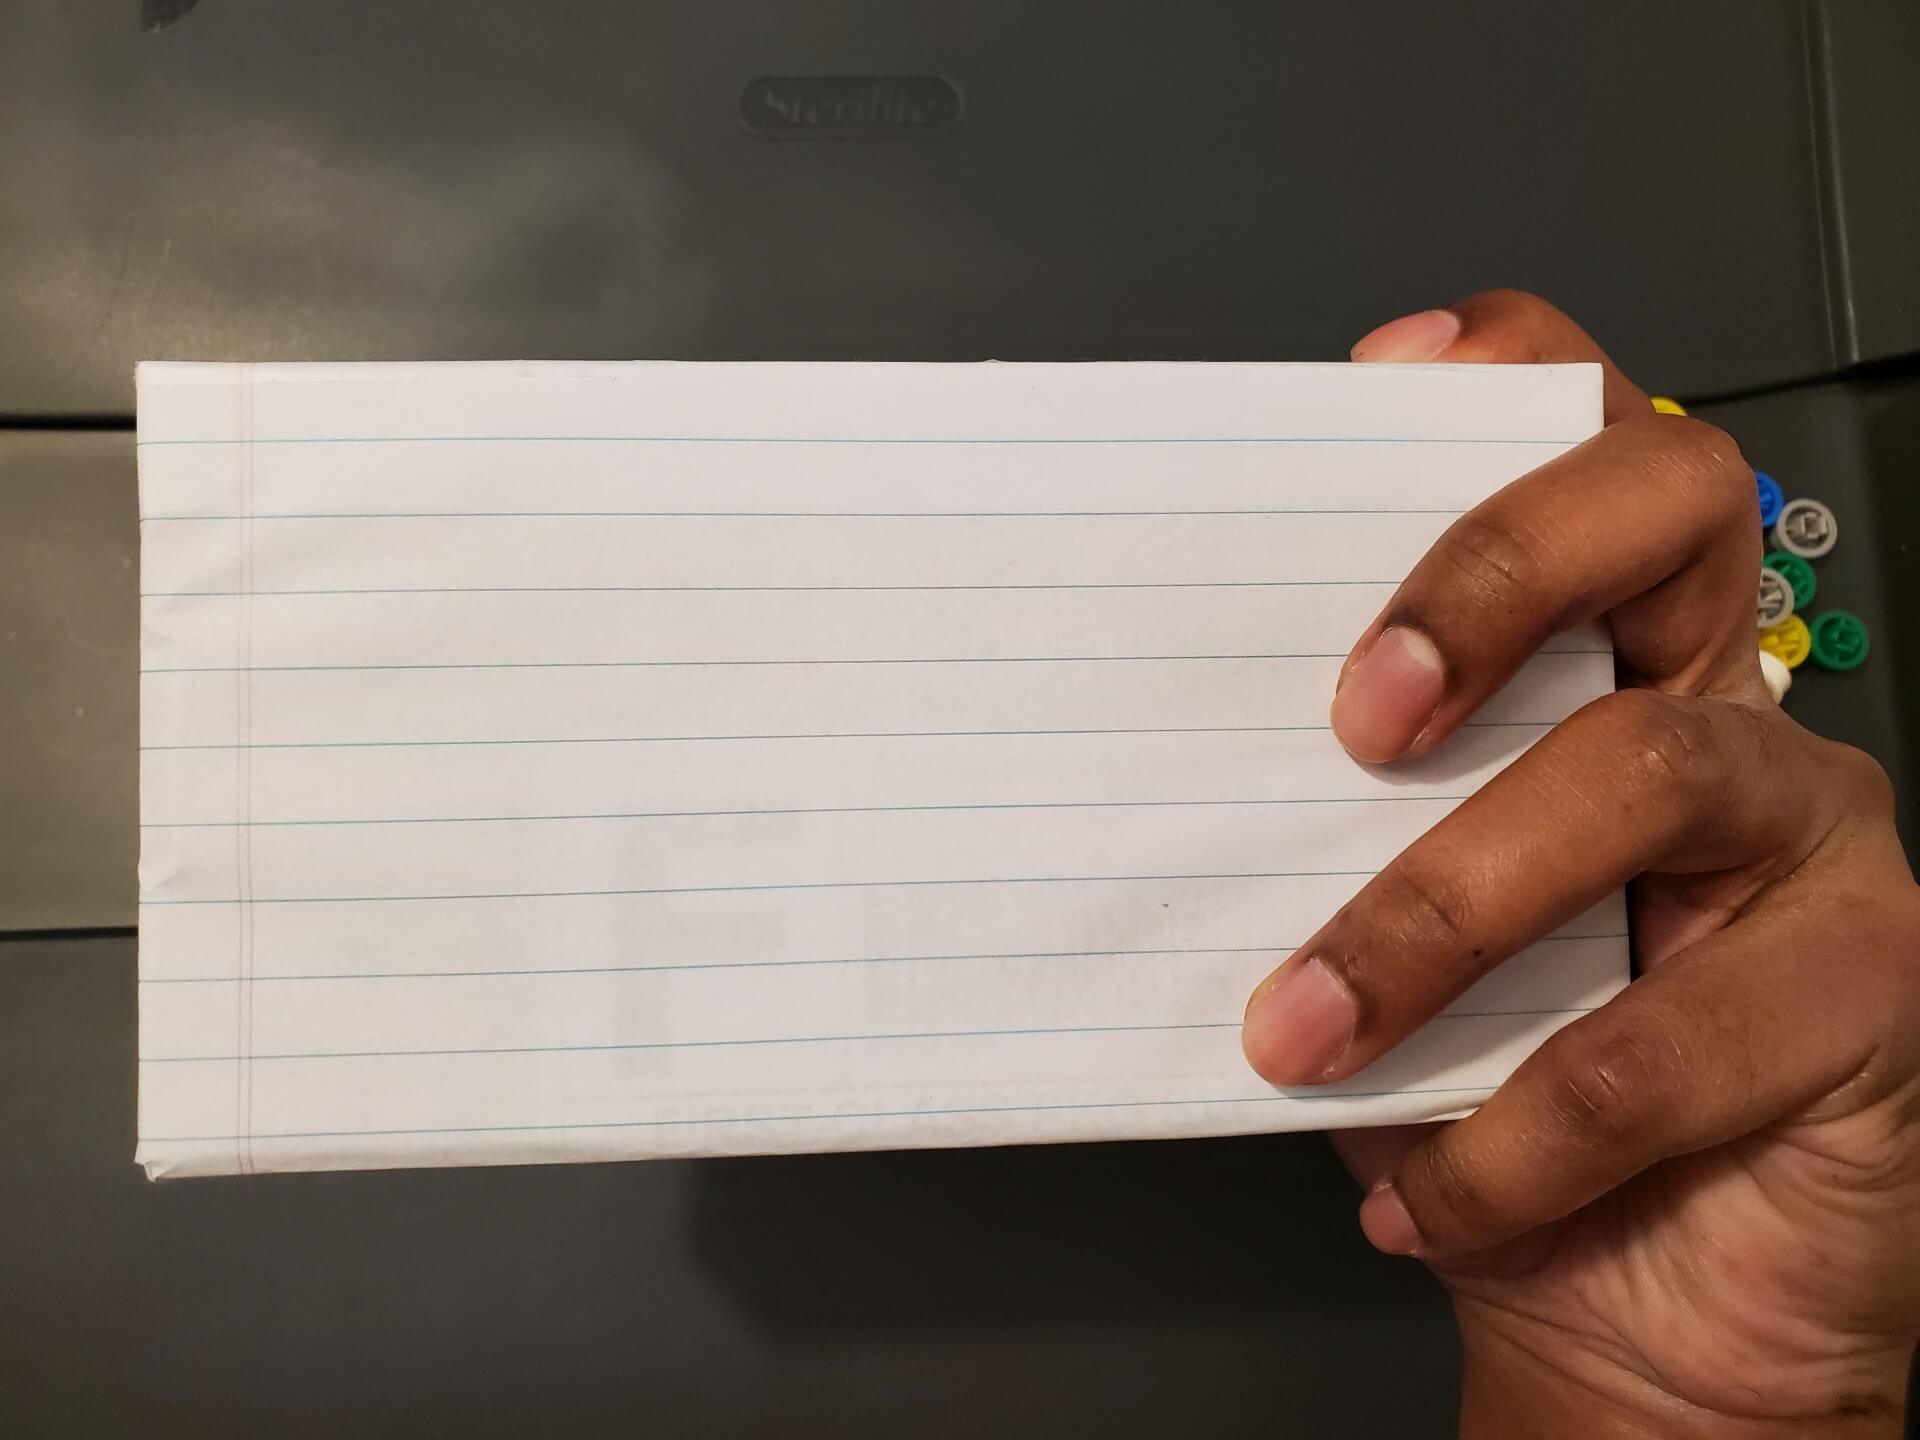
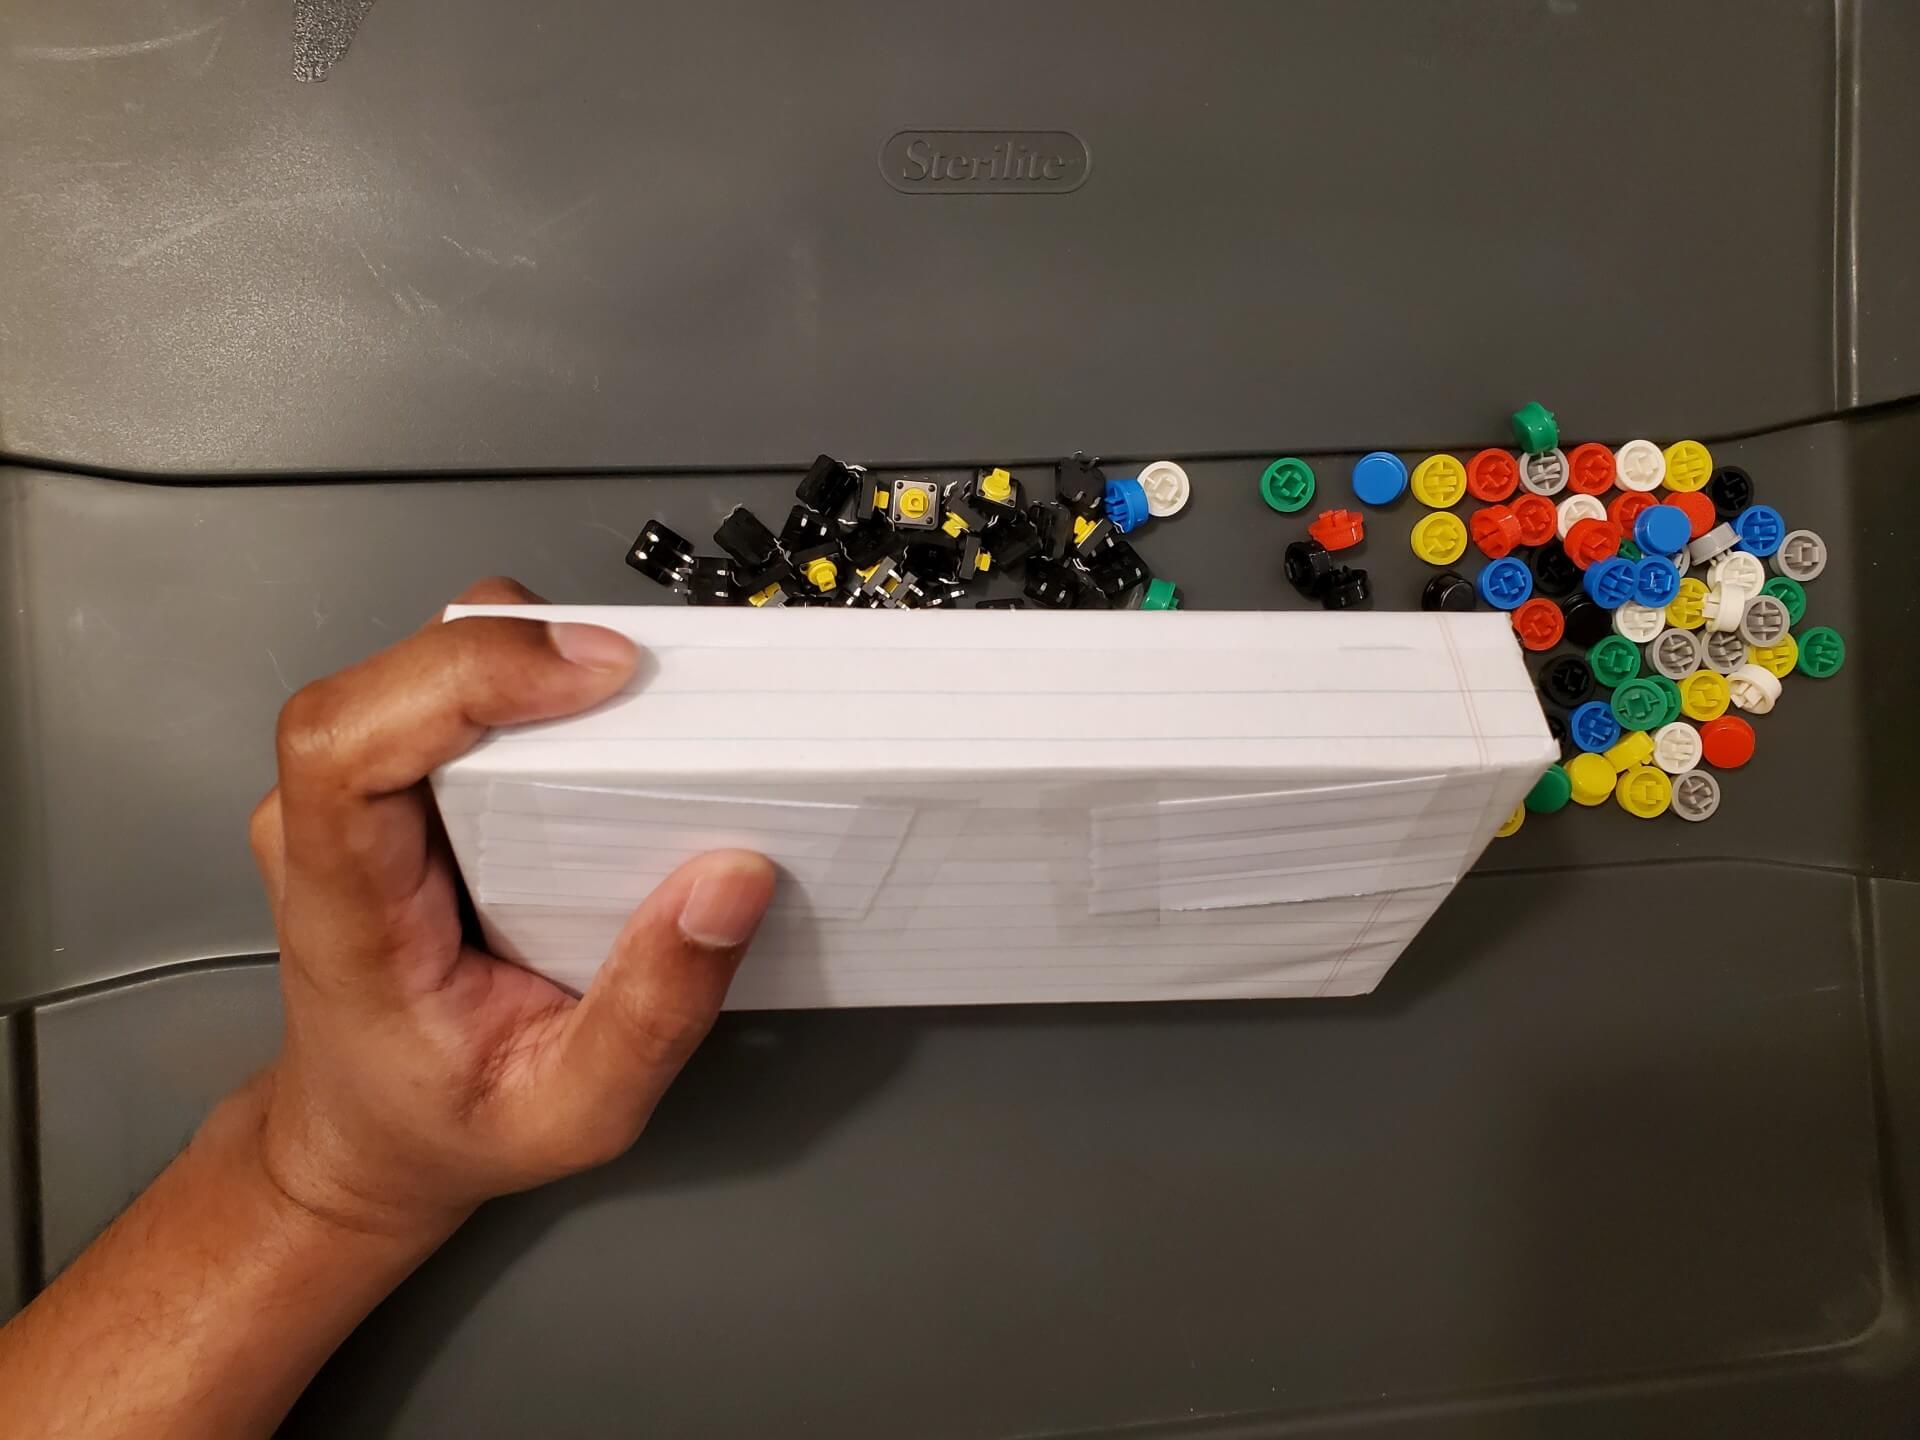
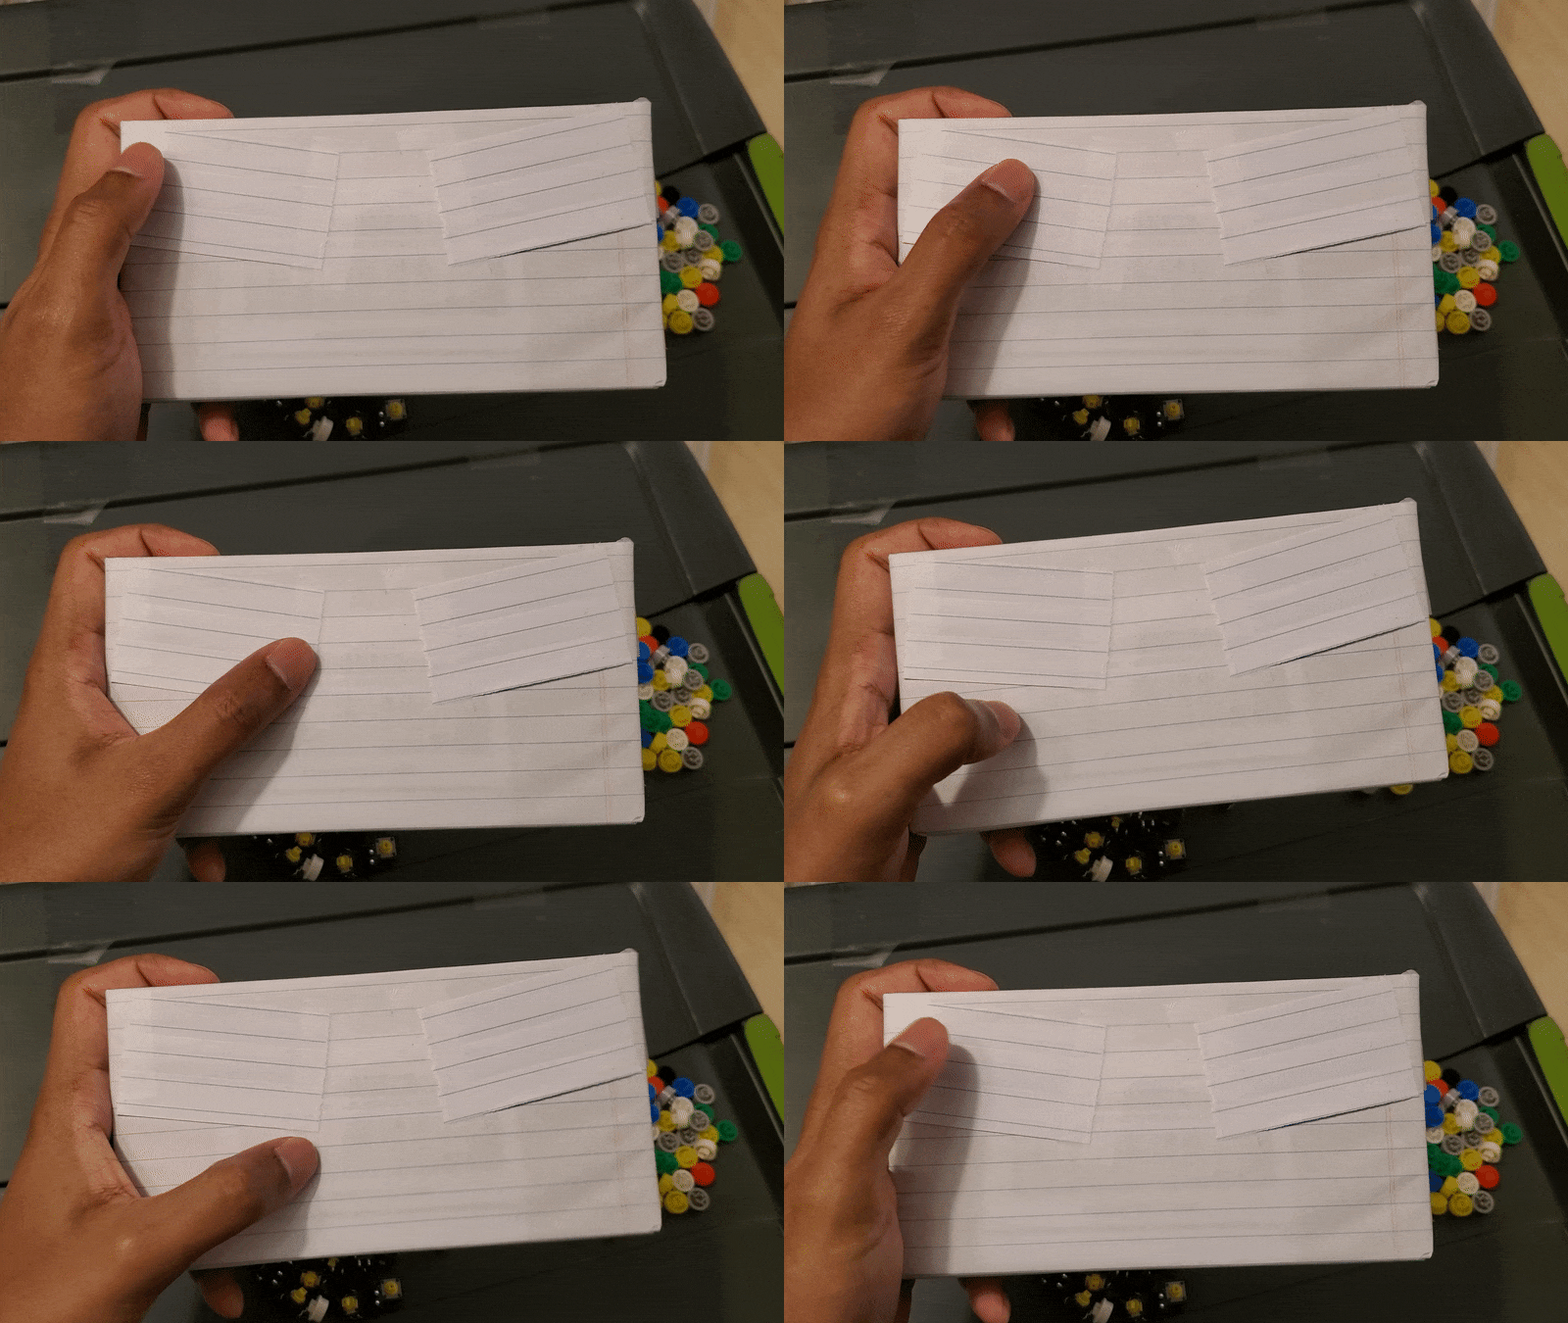
I wanted to get a feel of the finished product in my hand, so I fished around in my storage for large cardboard boxes that I can fold. Luckily, I actually found a box I got when I ordered a replacement screen for my Nexus 5 way back on 2017, which fits pretty perfectly in my hand (if a little too thick). So I wrapped a paper around it, and tried out the button positions from the diagram above, and found myself satisfied. This is going to be the keyboard’s body.

Next steps
Look into better casing
The cardboard box I found has dimensions these dimensions: 17.5mm x 9.2mm x 3.2mm. It’s a little too thick, but otherwise nearly perfect: chunky enough to hold onto, but compact enough to be a thick remote. While it’s fortunate that I found it, it occurred to me that there’s another set of devices which are optimized for holding with 2 hands: game controllers. I have a couple of old controllers that I don’t use anymore, and while they’re awesome to hold with both hands, they’re not too convenient for one-handed usage. I needed something more or less rectangular (cuboidal, if we’re being pedantic), and I immediately thought of hand-held consoles. I had a Nintendo DS Lite, which is one of my favourite form factors. I could get a replacement shell from eBay for under $20. I’ll need to look into the measurements and teardowns to determine how much space I’ll have, what parts I can actually reuse, etc.
Build the keyboard
Building the keyboard involves wiring the switches in a matrix and connecting them to the micro controller of choice. The QMK keyboard firmware’s docs have a great guide on hand-wiring. But QMK doesn’t have great support for Bluetooth, of which the nice!nano board is capable. Nice!nano’s docs recommend BlueMicro, which is a QMK fork on which Bluetooth is a first class citizen. While a lot of QMK features are missing, the most useful ones (like layers) are available. For everything else, I’m sure I can handle the coding (having been messing around with QMK a lot over the past year, another long story).
I’m excited to see where this goes. I just hope I can see this project to completion before my interest in this fizzles out. Thank you for reading!